
Air Fryer Garlic Bread has quickly become a standout favorite among home cooks seeking a combination of convenience, flavor, and irresistible crunch.
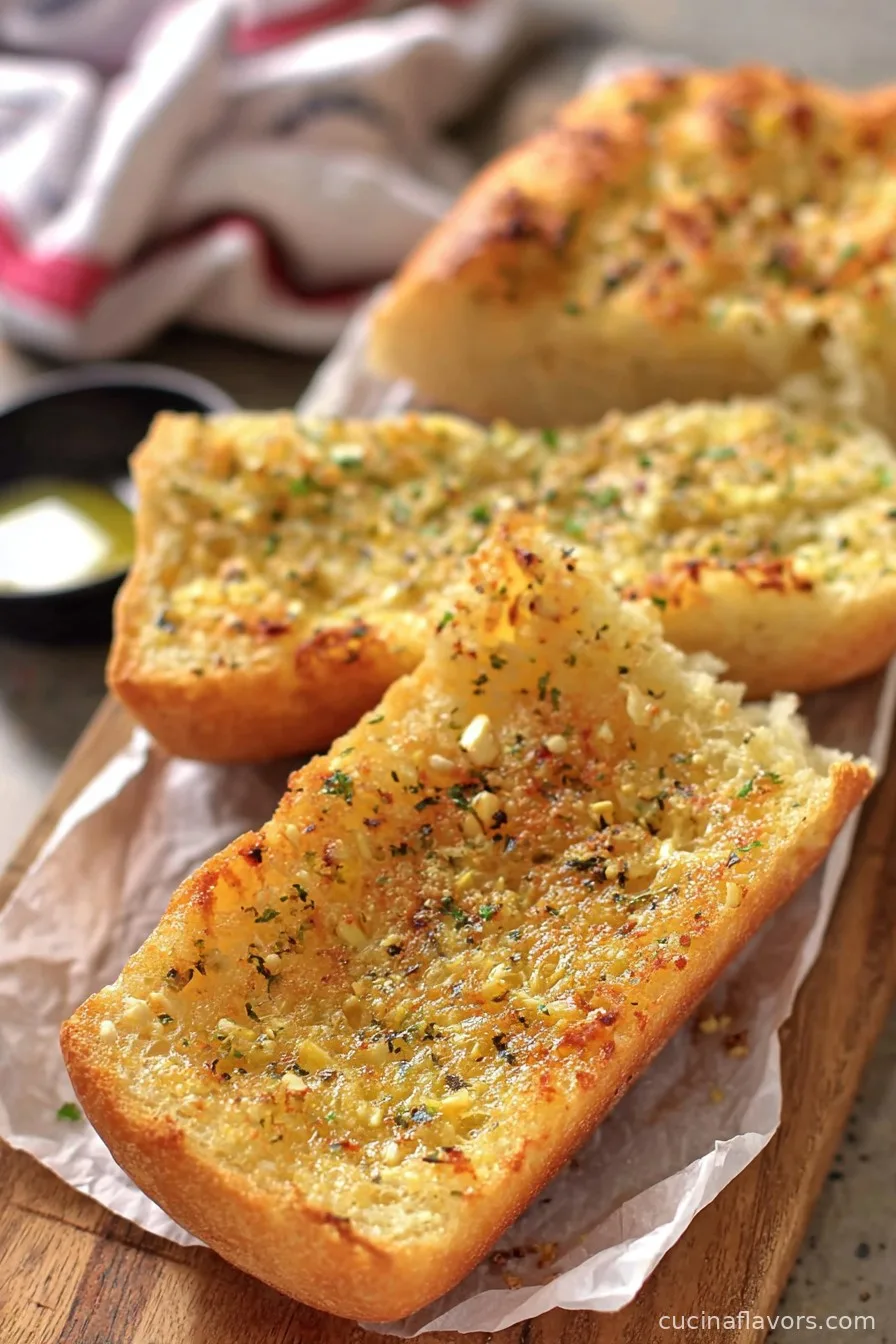
Harnessing the efficiency of the air fryer, this recipe transforms humble bread and a handful of pantry staples into a golden, aromatic side dish perfect for a wide array of meals.
Garlic bread itself boasts European roots, with ties to Italian bruschetta and French pain à l’ail, but modern garlic bread has evolved into a cherished staple at dinner tables worldwide.
The air fryer revolutionizes the process, providing a way to achieve toasty perfection in a fraction of the usual time, eliminating the need for a traditional oven or lengthy preheating.
This method ensures a crisp crust while keeping the inside tender and infused with butter and garlic, all with minimal oil and mess.
With the rise in popularity of air fryers due to their energy efficiency and health benefits, air fryer garlic bread is now accessible to novice cooks and gourmets alike.
In this recipe, you’ll discover how to master the art of garlic bread in your air fryer, making it a go-to for busy weeknights, last-minute entertaining, or a satisfying snack. Join the trend and elevate your dinner game with this mouthwatering, easy air fryer garlic bread recipe.
Ingredients
- 1 large baguette or Italian loaf
- ½ cup unsalted butter, softened
- 4 cloves garlic, minced
- 2 tablespoons fresh parsley, chopped (or 1 tablespoon dried parsley)
- ¼ cup grated Parmesan cheese (optional for extra richness)
- ½ teaspoon salt
- ¼ teaspoon freshly ground black pepper
- ¼ teaspoon dried oregano or Italian seasoning (optional)
- Cooking spray (as needed)
Instructions
- Cut the baguette or Italian loaf into 1-inch thick slices. Arrange the bread slices on a cutting board or tray.
- In a medium mixing bowl, combine the softened butter, minced garlic, chopped parsley, salt, pepper, and any optional ingredients such as Parmesan cheese or dried herbs. Mix thoroughly until it becomes a smooth garlic butter spread.
- Spread a generous layer of garlic butter mixture on one side of each bread slice using a butter knife or spatula.
- Lightly spray the basket of your air fryer with cooking spray to prevent sticking.
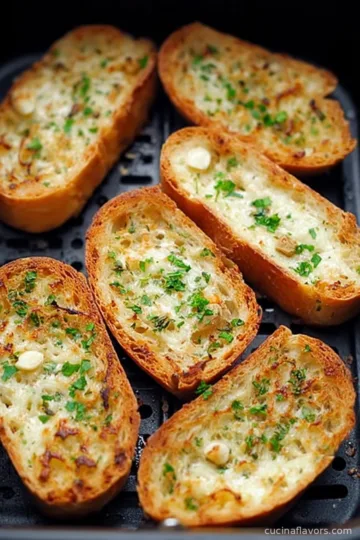
- Place the buttered bread slices in a single layer in the air fryer basket, buttered side up. Avoid overlapping or stacking the slices to ensure even cooking. Cook in batches if necessary.
- Set the air fryer temperature to 350°F (175°C) and cook for 4-6 minutes, checking halfway through. The garlic bread is done when the edges are crisp and golden, and the butter has fully melted into the bread.
- Carefully remove the garlic bread from the air fryer using tongs. Let cool for 1-2 minutes before serving.
- Repeat with any remaining slices until all are toasted to perfection.
Nutritional Information
Making air fryer garlic bread means you can indulge in a delicious side dish while enjoying some nutritional advantages. Typically, one slice of traditional garlic bread prepared in an oven can be higher in calories and fat due to the use of more butter or oil for toasting and browning.
In contrast, the air fryer requires minimal extra fat, resulting in fewer calories per serving. A standard slice of air fryer garlic bread (about a 1-inch thick piece) contains approximately 120-160 calories, with around 6-8 grams of fat, depending on the amount of butter used.
Carbohydrates come primarily from the bread, typically contributing 15-20 grams per slice, and protein counts range from 3-5 grams. Utilizing fresh garlic and herbs not only imparts flavor but also delivers trace vitamins and antioxidants. Parmesan cheese is optional; however, it boosts protein and calcium content.
For healthier variations, you can substitute regular butter with a plant-based or reduced-fat alternative or use whole wheat bread to increase the fiber content. Liver-friendly unsalted butter also helps control sodium intake.
Additionally, air frying reduces acrylamide formation compared to deep-fried foods, making it a preferable option for those mindful of health. When enjoyed in moderation, air fryer garlic bread can be a part of a balanced meal, supplying quick energy, flavor, and a satisfying crunch without excessive calories.
Wine and Beverage Pairings
Air fryer garlic bread pairs beautifully with a range of beverages. Classically, a crisp white wine such as Sauvignon Blanc or Pinot Grigio complements the garlicky, buttery flavor without overpowering the palate. For red wine lovers, a light-bodied Chianti or Pinot Noir works well, especially alongside Italian dishes.
If you prefer non-alcoholic beverages, a sparkling water with lemon, homemade lemonade, or even a refreshing iced tea bring out the bread’s savory notes.
When serving garlic bread with a hearty soup or pasta, a cool, citrus-infused water or a light beer will provide a satisfying balance, cleansing the palate between bites.
Cooking Tips and Variations
Achieving the perfect air fryer garlic bread involves some useful tricks and versatile variations. Firstly, always use softened butter—this ensures even spreading and allows the flavors of garlic and herbs to infuse the bread thoroughly.
For the best results, freshly mince the garlic instead of using pre-minced versions for a more vibrant taste. If you enjoy a cheesy topping, sprinkle mozzarella or cheddar cheese atop the bread before air frying for a gooey, melty layer.
For a healthier option, swap out part of the butter with olive oil or use whole grain bread, which adds fiber. Gluten-free bread works just as well for those with dietary restrictions.
Customize the herbs based on your taste; while parsley is classic, chives, basil, or rosemary lend a unique essence. Ensure the bread slices are not too thick, as this allows for quicker, more even crisping.
If your air fryer model tends to run hot, check the bread after 3 minutes to avoid burning. Another tip is to store any leftover garlic butter in the refrigerator for meal prep, making weeknight garlic bread a breeze.
For extra crunch, try lightly toasting the bread before adding the garlic butter or increase the air fryer temperature by 20 degrees for the last minute of cooking.

Serving Suggestions
Air fryer garlic bread is a versatile addition to any meal. Serve it fresh from the air fryer for maximum warmth and crunch—the contrast between the golden, crisp exterior and the soft, buttery center is unbeatable.
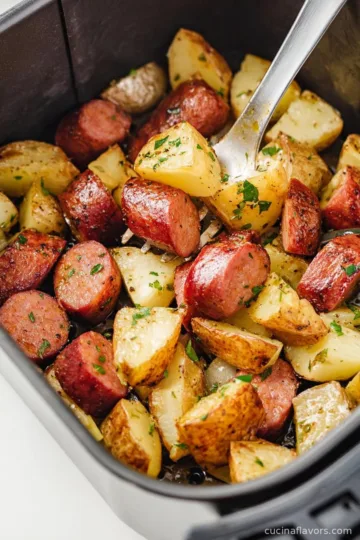
Arrange slices in a bread basket lined with a cloth napkin to keep them warm longer at the dinner table. This garlic bread is a classic accompaniment to Italian dishes such as pasta, lasagna, or risotto, soaking up sauces and enhancing flavors.
For a creative appetizer, slice the bread into thinner strips and serve with a variety of dips like marinara, cheesy spinach dip, or hummus for an interactive starter. Air fryer garlic bread can also top salads, lending a crunchy, garlicky crouton effect.
During gatherings or parties, offer mini slices with a selection of cheeses and cured meats for an elevated antipasto platter. For a comforting lunch, pair with tomato soup or a hearty stew. Add your favorite herbs or a drizzle of olive oil for extra flavor.
No matter the occasion, presenting air fryer garlic bread alongside your chosen entrees elevates the meal and creates a welcoming dining experience for guests.
Health Benefits
Air fryer garlic bread can be made healthier with a few mindful adjustments. Using an air fryer, you eliminate the need for extra oil, resulting in significantly less fat and calories compared to pan-frying or baking with lots of butter or oil.
Fresh garlic, the primary flavoring, provides allicin—a compound known for its potential cardiovascular and immune boosting benefits. Incorporating fresh parsley or other herbs not only adds color and flavor but also brings essential vitamins like vitamin K, C, and antioxidants that combat oxidative stress.
For those watching sodium, using unsalted butter and controlling the addition of cheese keeps salt content in check. Choose whole grain or fortified bread to increase fiber, B vitamins, and minerals, which aid in digestion and deliver lasting energy.
Plant-based butter options can cater to those with dairy sensitivities, retaining all the taste and texture with less saturated fat. By using simple, natural ingredients and reducing the fat required for classic garlic bread, this air fryer recipe strikes a balance between indulgence and well-being.
When consumed as part of a balanced meal, air fryer garlic bread can be enjoyed guilt-free.
Frequently Asked Questions
Yes, frozen bread can be used but allow it to thaw slightly before preparing. This ensures the garlic butter spreads evenly and the bread crisps up properly in the air fryer.
Monitor the cooking time closely, especially if your air fryer runs hot. Check the bread after three minutes and adjust as needed. Using the correct thickness of bread slices also helps avoid burning.
You can prepare the garlic butter spread and slice the bread ahead of time. Assemble right before air frying for the best texture and flavor. If you must reheat, a quick blast in the air fryer for one to two minutes will refresh the crispness.
Baguettes, Italian loaves, ciabatta, sourdough, and even whole wheat bread all work well. Choose a bread with a slightly firm texture for best results.
Absolutely! Substitute regular butter with plant-based butter and omit the cheese or use a dairy-free alternative. The results are still delicious and satisfying.
Air fryer garlic bread brings together the tradition of comfort food and the efficiency of modern kitchen gadgets. Its irresistible combination of crisp texture, buttery richness, and garlic-loaded aroma makes it a winning side for countless meals. With quick preparation time and endless customization options, this recipe is accessible for both weeknight dinners and special occasions. Whether you are catering to dietary needs, aiming for a healthier side, or simply craving a flavorful treat, air fryer garlic bread stands ready to impress. Make it part of your regular recipe rotation and experience the delightful fusion of taste, convenience, and nutrition.
Ingredients
- 1 large baguette or Italian loaf
- ½ cup unsalted butter, softened
- 4 cloves garlic, minced
- 2 tablespoons fresh parsley, chopped (or 1 tablespoon dried parsley)
- ¼ cup grated Parmesan cheese (optional for extra richness)
- ½ teaspoon salt
- ¼ teaspoon freshly ground black pepper
- ¼ teaspoon dried oregano or Italian seasoning (optional)
- Cooking spray (as needed)
Instructions
-
1Cut the baguette or Italian loaf into 1-inch thick slices. Arrange the bread slices on a cutting board or tray.
-
2In a medium mixing bowl, combine the softened butter, minced garlic, chopped parsley, salt, pepper, and any optional ingredients such as Parmesan cheese or dried herbs. Mix thoroughly until it becomes a smooth garlic butter spread.
-
3Spread a generous layer of garlic butter mixture on one side of each bread slice using a butter knife or spatula.
-
4Lightly spray the basket of your air fryer with cooking spray to prevent sticking.
-
5Place the buttered bread slices in a single layer in the air fryer basket, buttered side up. Avoid overlapping or stacking the slices to ensure even cooking. Cook in batches if necessary.
-
6Set the air fryer temperature to 350°F (175°C) and cook for 4-6 minutes, checking halfway through. The garlic bread is done when the edges are crisp and golden, and the butter has fully melted into the bread.
-
7Carefully remove the garlic bread from the air fryer using tongs. Let cool for 1-2 minutes before serving.
-
8Repeat with any remaining slices until all are toasted to perfection.
Approximate Information for One Serving
Nutrition Disclaimers
Number of total servings shown is approximate. Actual number of servings will depend on your preferred portion sizes.
Nutritional values shown are general guidelines and reflect information for 1 serving using the ingredients listed, not including any optional ingredients. Actual macros may vary slightly depending on specific brands and types of ingredients used.
To determine the weight of one serving, prepare the recipe as instructed. Weigh the finished recipe, then divide the weight of the finished recipe (not including the weight of the container the food is in) by the desired number of servings. Result will be the weight of one serving.
Did you make this recipe?
Please consider Pinning it!


Leave a Reply